Decided to add a story on my build. Ive taken chunks from my other forums but hopefully it makes sense and is in the right order
gday all.
I havent said much about my latest project so i thourght it was about time i let everyone no what ive been up to.
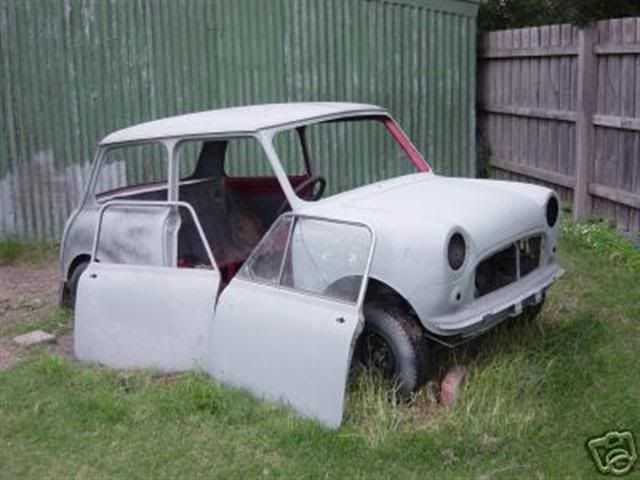
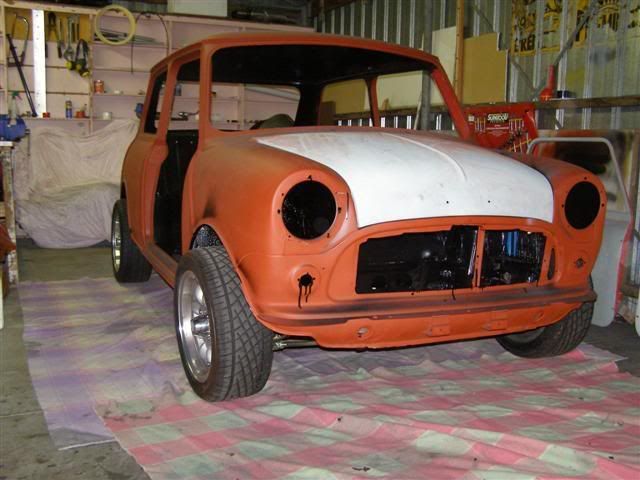
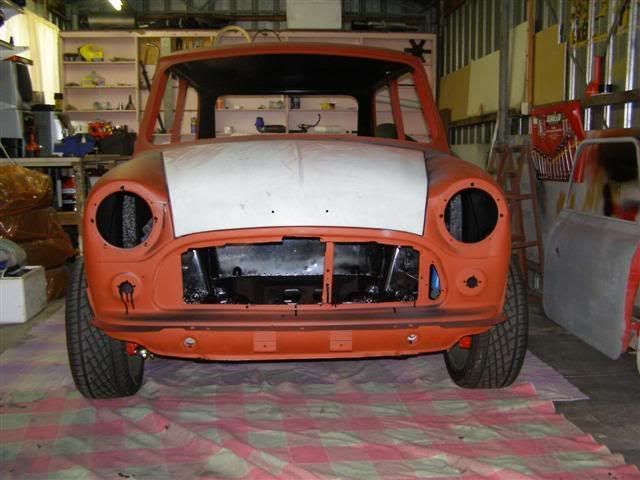
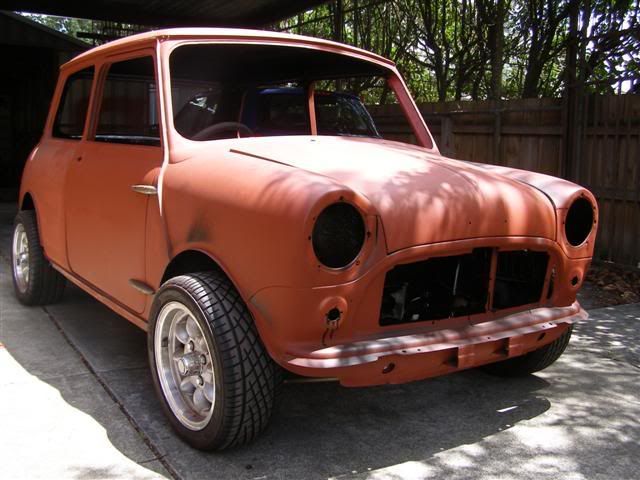
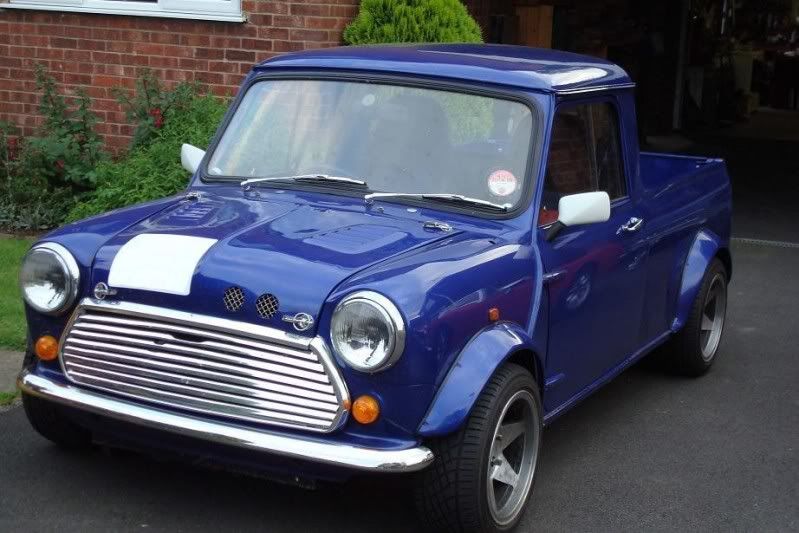
i got this car of ebay in the end of june 2006.
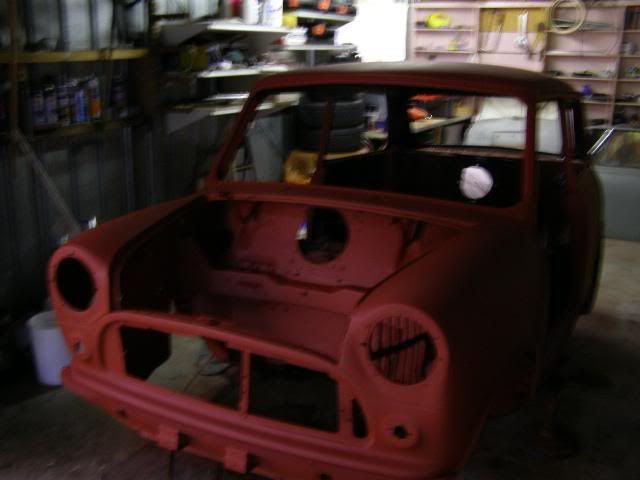
its a 1967 morris mini deluxe
the car was in ok nick for a mini witch had been left out in the weather for some time.
after getting it home i was happy to find not much rust and were it did have rust it was in easy to repair places.
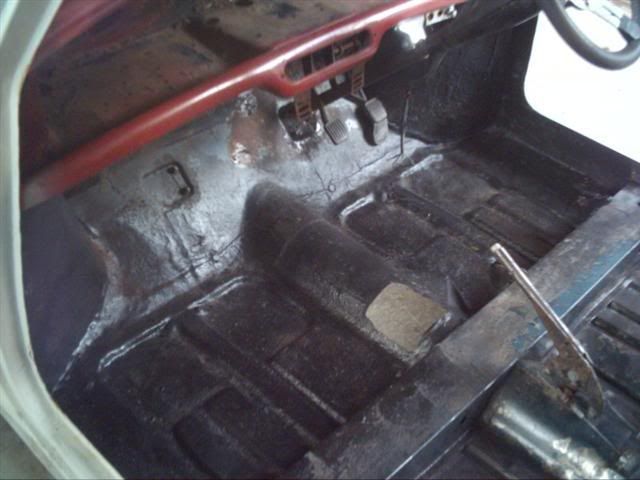
both front floors will be replaced with new ones..too much fiberglass for my liking.
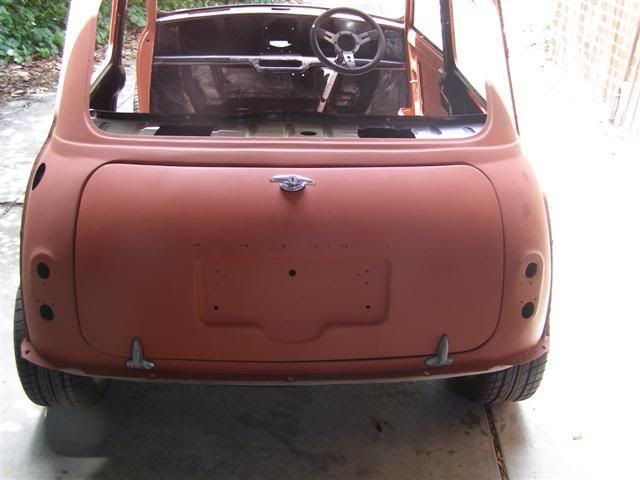
drivers side outer sill will be replaced,battery box,and the rear beaver panel and that is it.
think i was quite lucky.
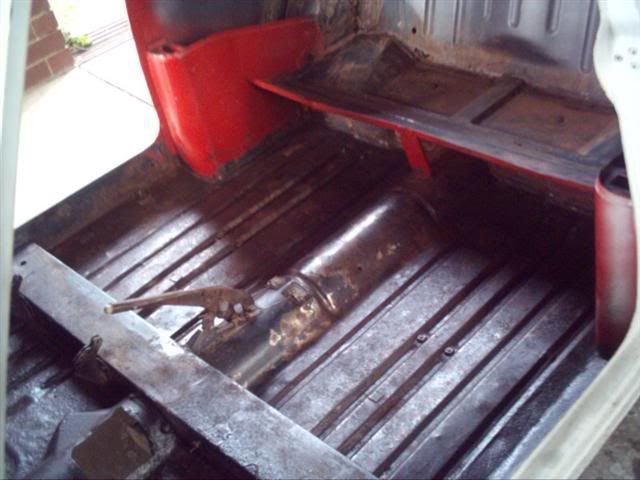
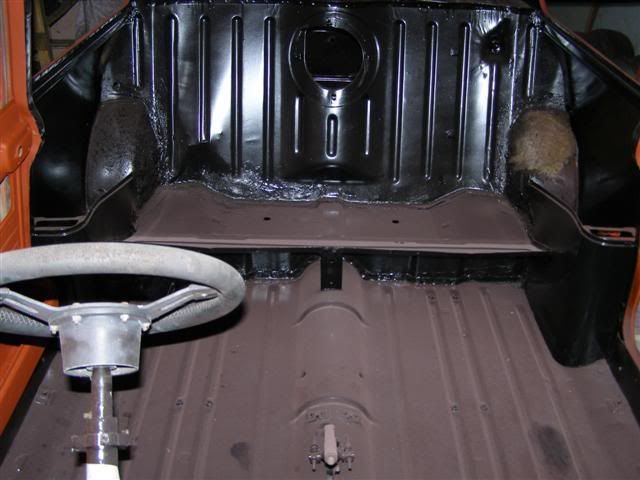
rear floors were ok so i just took all metal back to bare and repainted everything with red oxide rust guard paint.
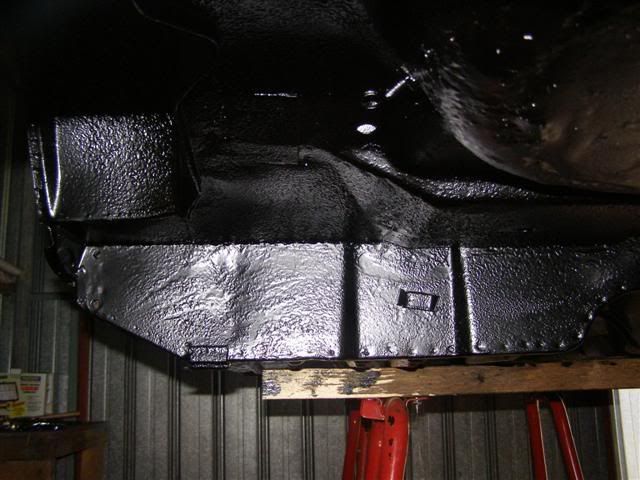
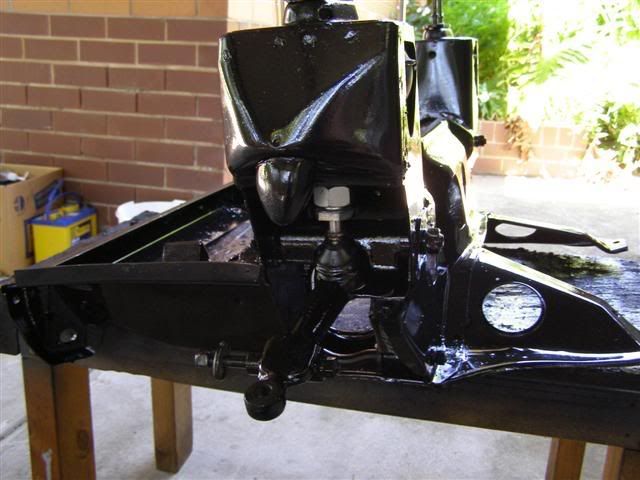
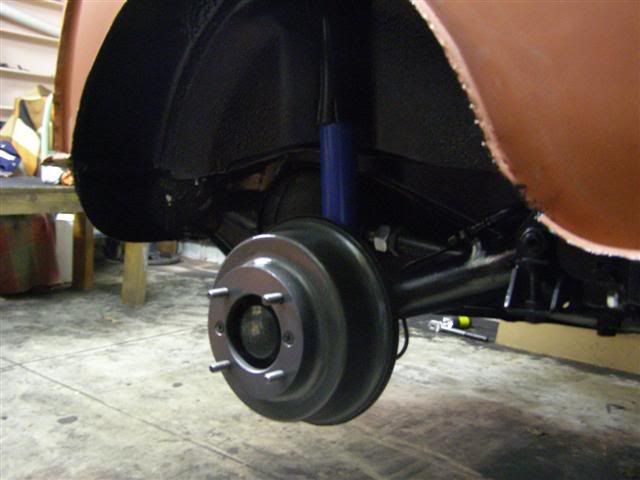
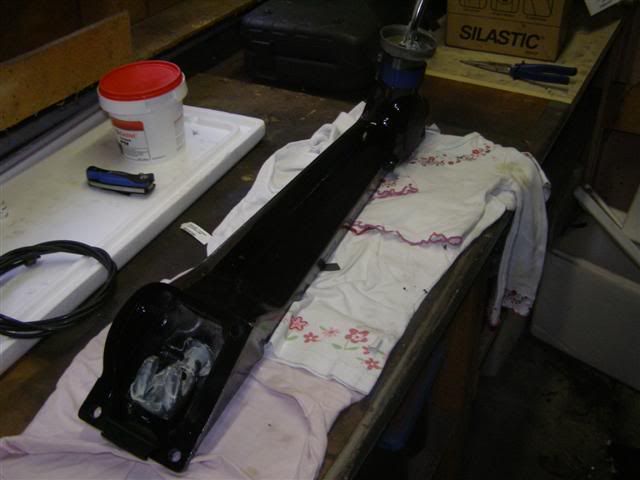
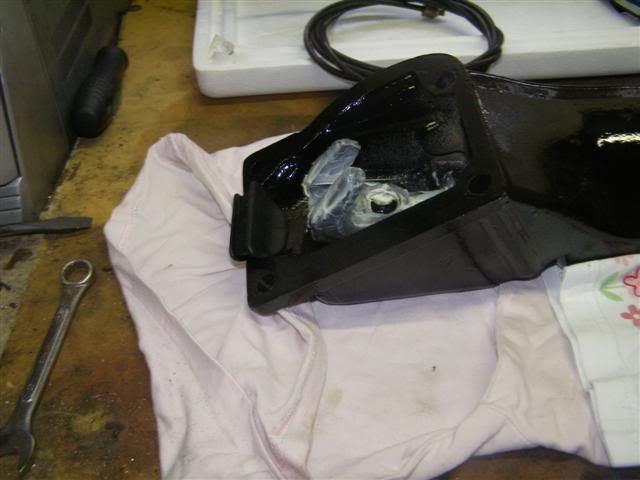
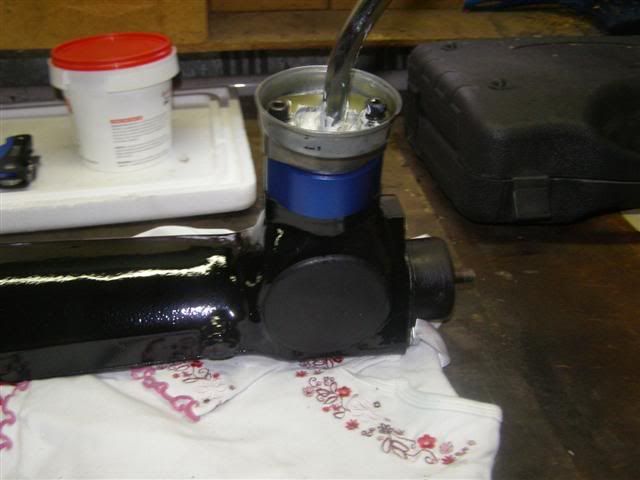
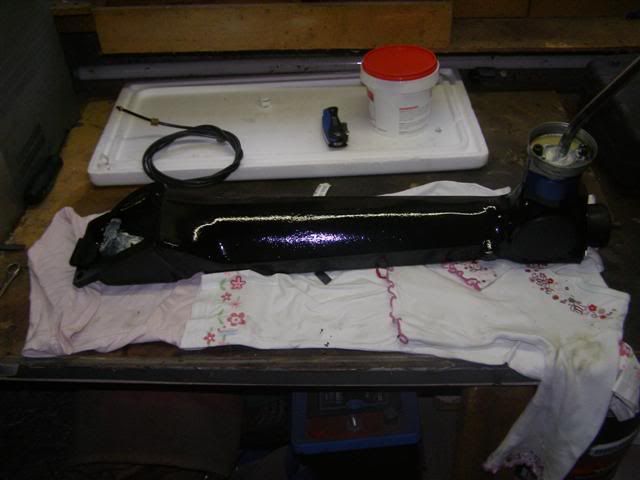
all under the car was taken back to bare metal also all done by hand witch took me two months but worth all the efort and given three coats of black gloss rust guard enamle paint.
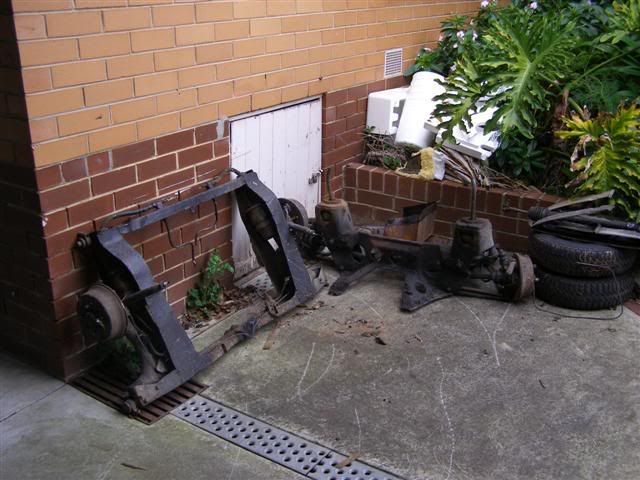
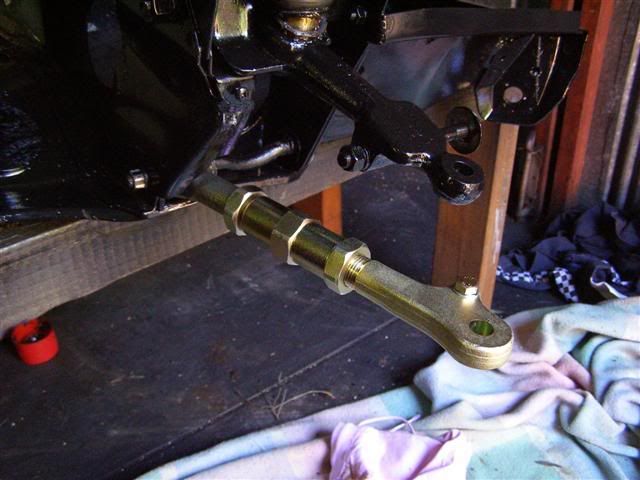
i removed all the subframes and replaced them with the ones i rebuilt.
i sanded down the whole sheel and gave it a coat of red oxide rust guard primmer just to stop any serface rust getting hold as the car is kept in a cold shed.
i then started to put it back to a rolling state as im only renting so i i need to move in a hurry i need it rolling.
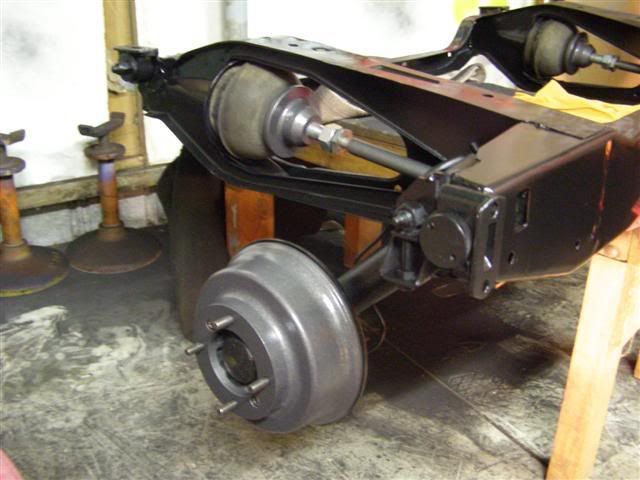
fitted rear frame to car.
|
|||||||


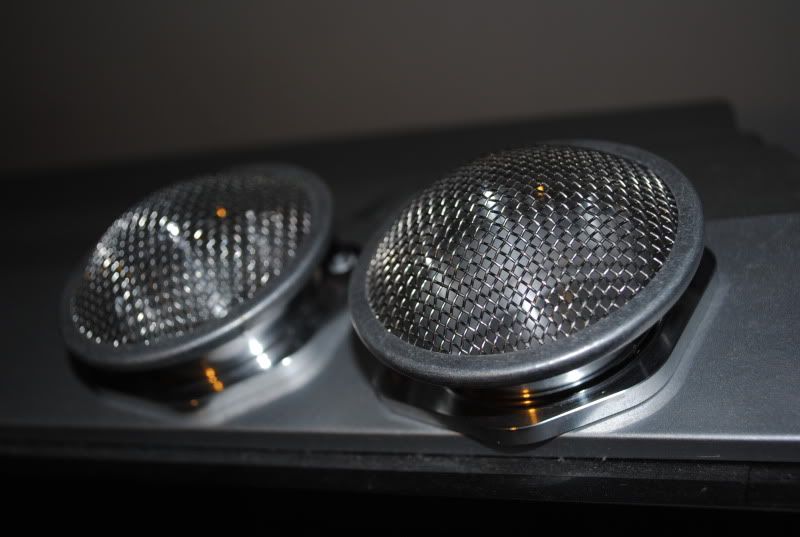

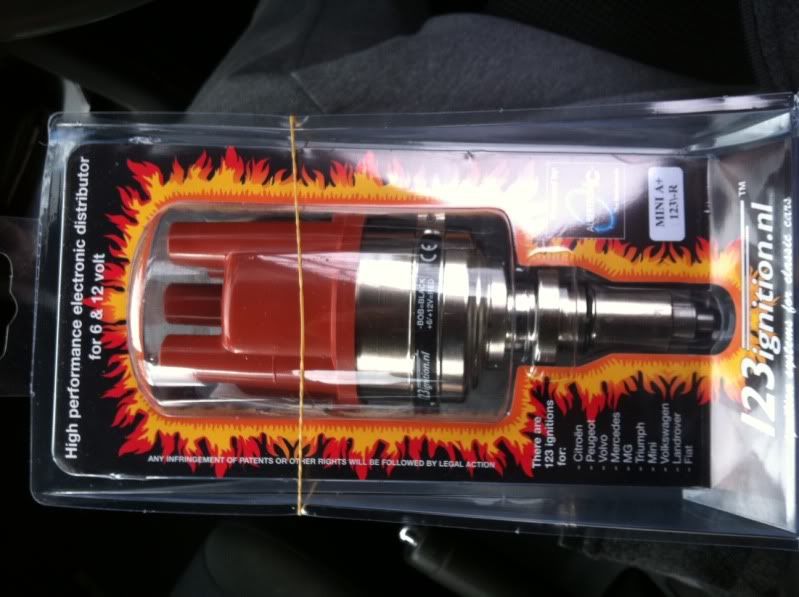
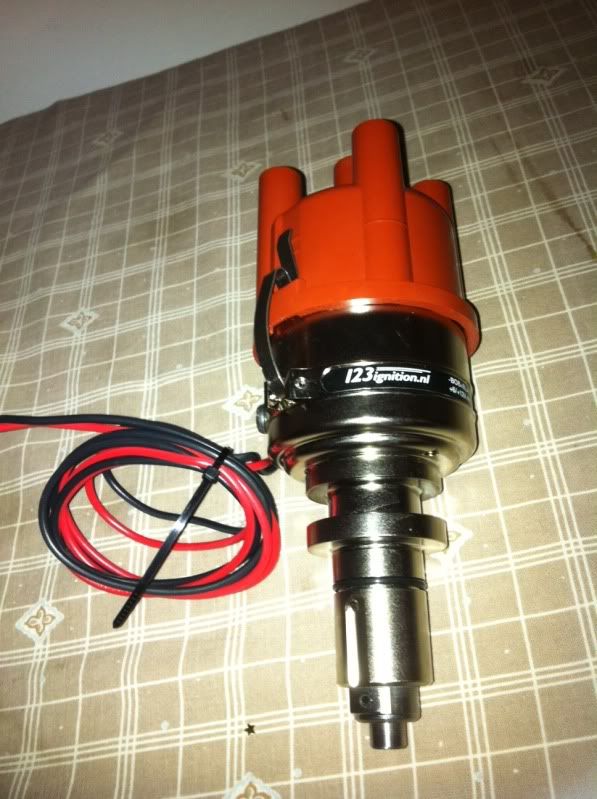
june 25 2011 My latest toy....next...new loom.....
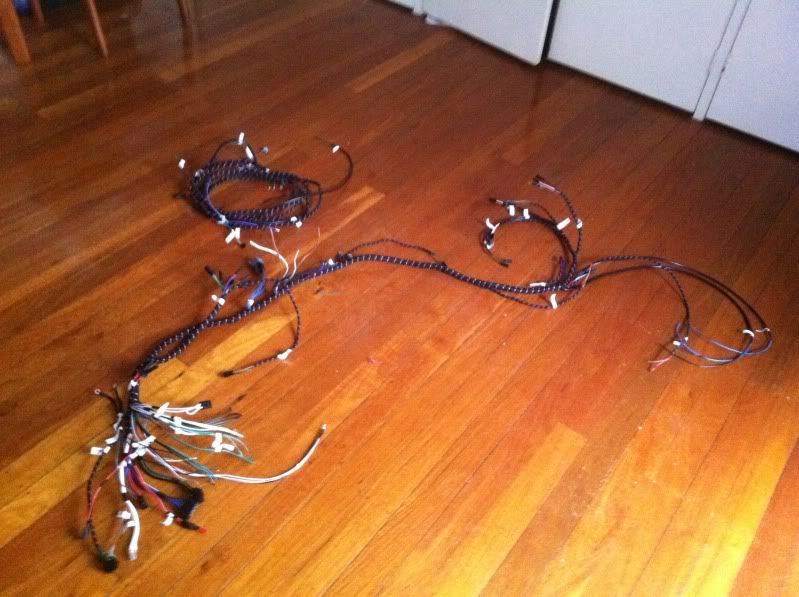
 well i finaly ordered the complete new loom last week.
Very excited as its one more step to my goal on getting her stated by end off the year.
I rang two places about the loom ...the first wanted over $1000 and I had too suply the old one witch I diddnt have.....
this sounded like too much hard earned cash so my next phone call was too
classic wiring looms
http://www.classicwiringlooms.com.au/index.htm
and I was very happy with there quote.
Spoke to the new owner Ian...and his wife and both were very nice to talk too.
Basic price for the loom was $539.00
I was also able to get the extra wiring done that was required at no extra cost so was very happy.
extra wiring built into the loom was
electric fule pump wire
Tacho, plus all my other autometre gauges and I sent photos to Ian and he will make all the conections fit the gauges so its just plug and play for me...
water temp as its now electronic
thermo fan
and extra lights in the dash as most of my gauges have more than one night light on them.
Reversing light
and I think i had others too but cant remember what I asked for..
Im still in the middel of installing the new power cable into the car....
Im using 1 gauge and this runs from the battery too the starter ect..
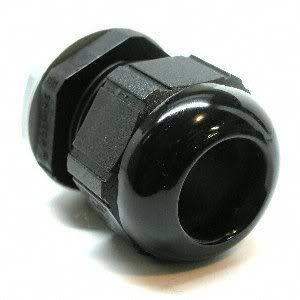
this should be complete this week but im still waiting on the Stinger Wire 0 Gauge Power Wire Firewall Grommets to arrive from the usa....
well let the fun begain..
Loom is now all finished ...looks great...now its just finding time to fit it all.
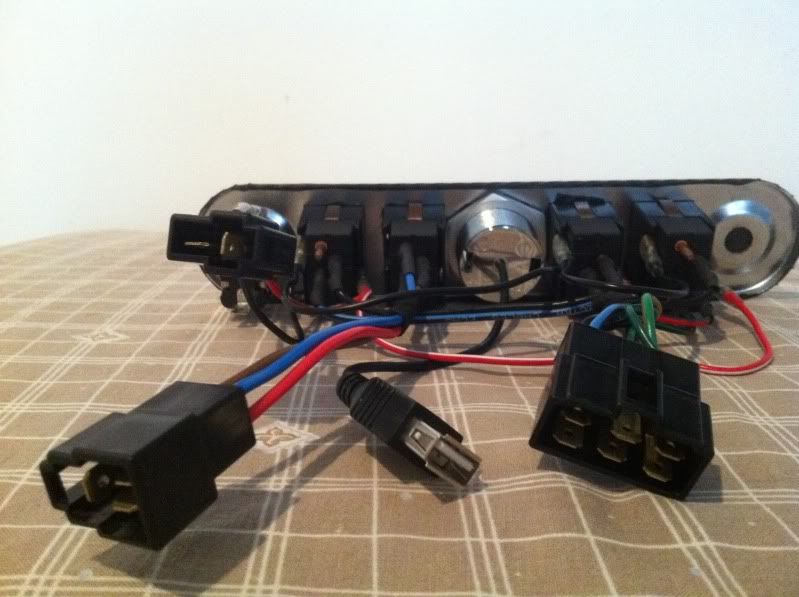
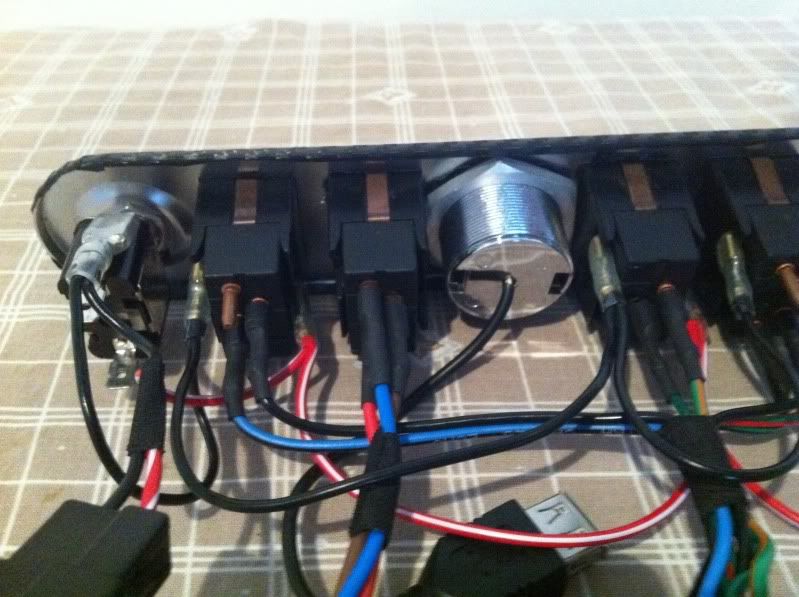
The loom guys found a solution to the switchs too.
they ended up using bullet conectors but had to modify them to suit the pin by crimping each one by hand so it was a nice tight fit.
the end result was very neat and tidy.
_________________
aug 29 2011 well the looms all in...and i was frillied to finaly switch the ignition switch and see it light up blue..lol
still not quite ready to push the start button yet but hopefully buy the end of this week it will be getting close...
still things to do are..
fill with oil
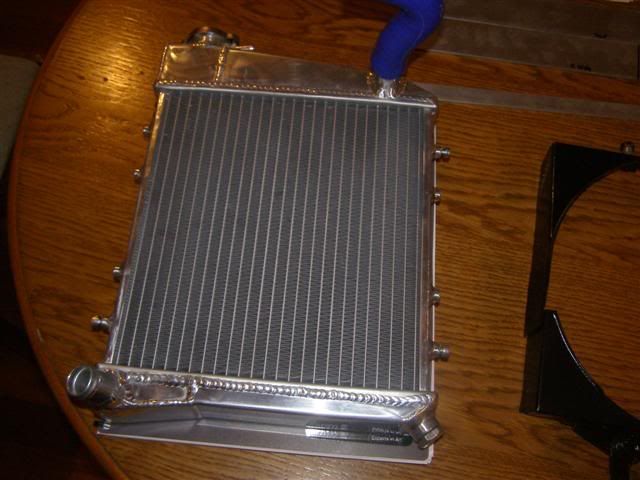
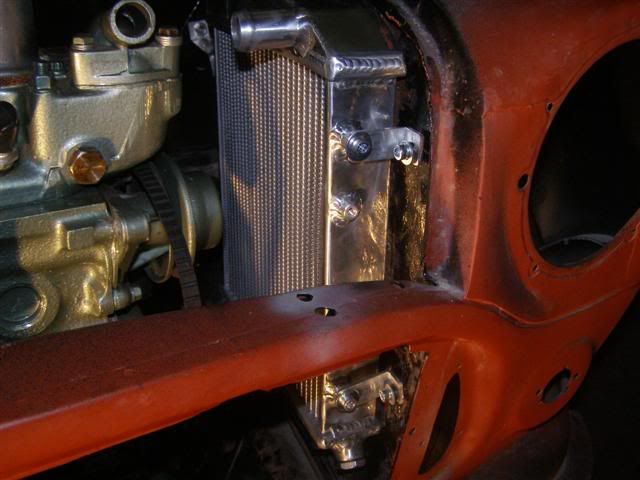
fill with radiator coolant
refill brake and clutch cylinders bleed ect
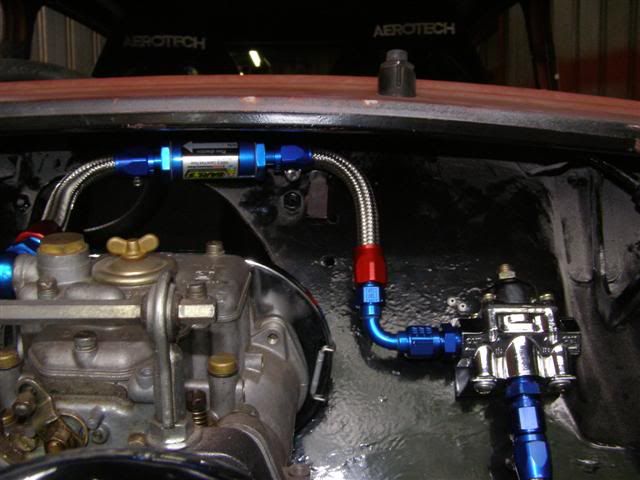
double check all lines hoses etc for leaks as its been 6 years since I installed them
wire up fuel pump
mount fuse box
tidy wires under dash
re set timming...and make sure shes at top dead centre etc..
double check spark plug leads are on in the right order..
and fingers crossed it will be ready for a test start...
ohhh anf fill her with petrole....lol....
anything I should look out for when starting her???
as its been a long time just sitting there....I realise shes going to smoke like crazzy as Ive been putting light oil down the cylinders every now and again and turning her over by hand...
anything important regarding the oil cooler??
was told once to disconect one line....and just turn engine over with no plugs conected and make sure its full off oil and no air???
_________________
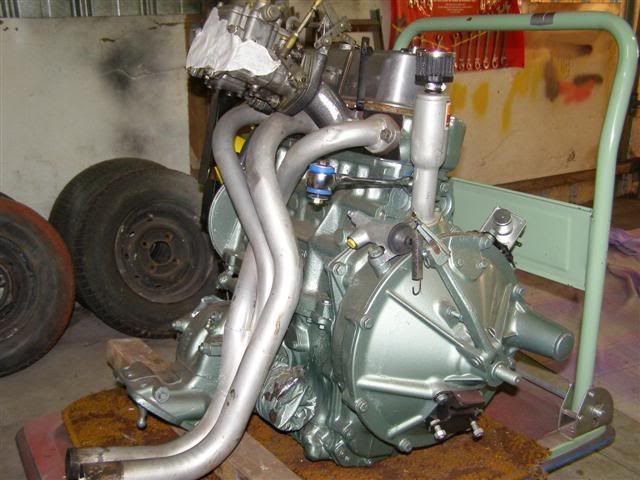
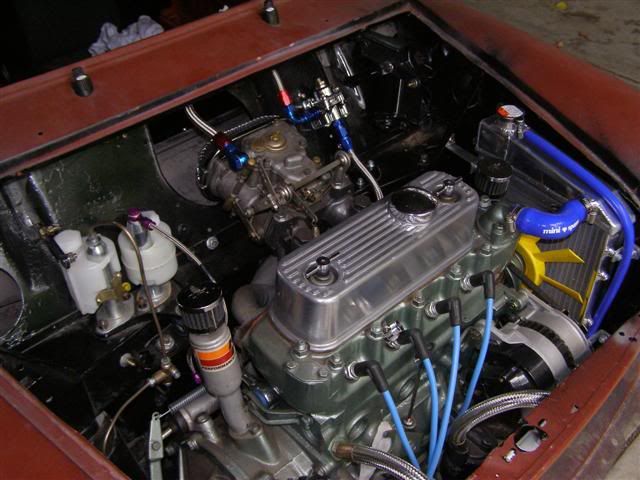
update on mini build.
well finaly got her started....woooo hooo 5 years its taken..lol
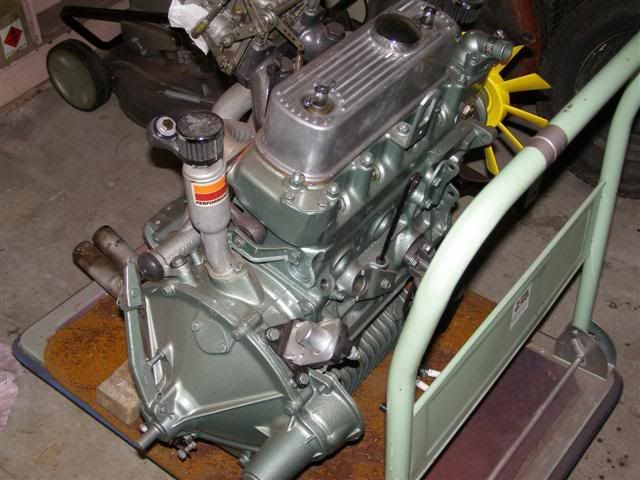
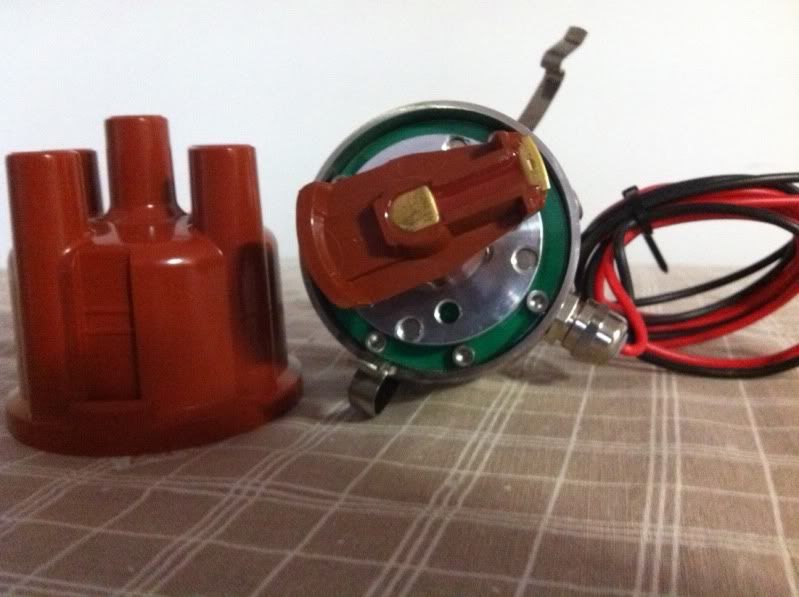
Main problem was even though the dizzy was brand new and of high quality it was not set correctly and diddnt suit my engine even though its meant for a
MG Metro Turbo Block....
once the dizzy was inserted the rotor button was not pointing in the correct possition ie 2 oclock...it was pointing at 10oclock...
so everytime the engine was turned over to make the dizzy point in the right possition it was not on the right stroke...
some quick advice from some great guys at link automotive and its now all running ok...still needs a good dyno session later
on but for now im just wrapped shes running again.
video is here..... http://youtu.be/v5rHkRyeaTE while i wait for my funds to recouperate i have been tinkering with small jobs on the mini.
Ive been trying out different idears with the dash and how to incorpreate the gauges I have.
I was trying to keep it kinda looking original but also trying to make everything fit.
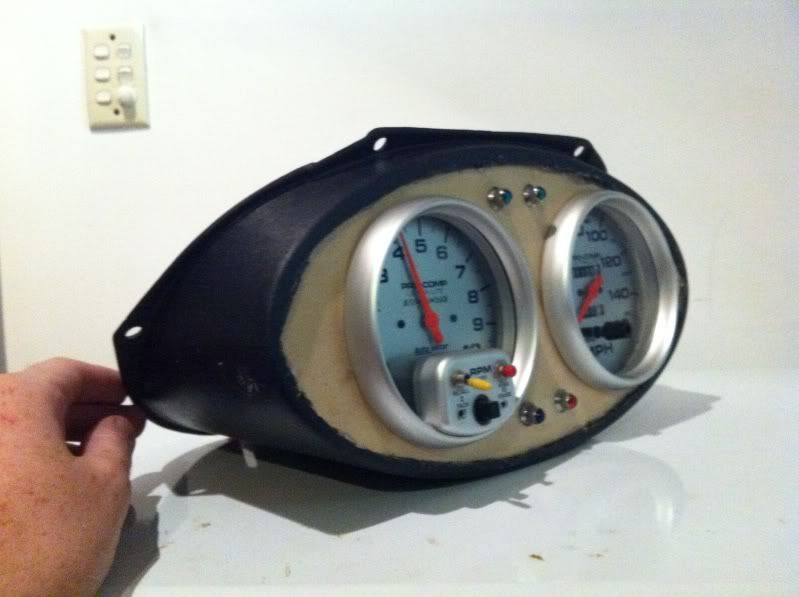
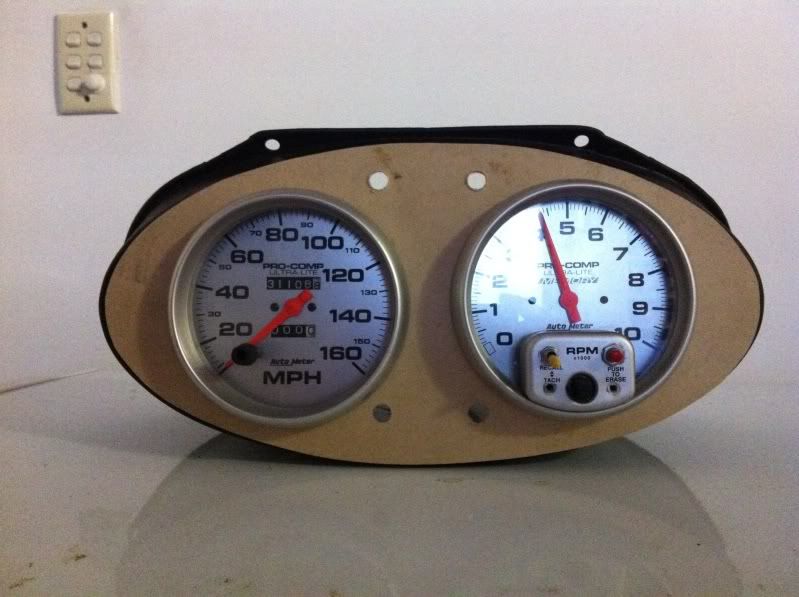
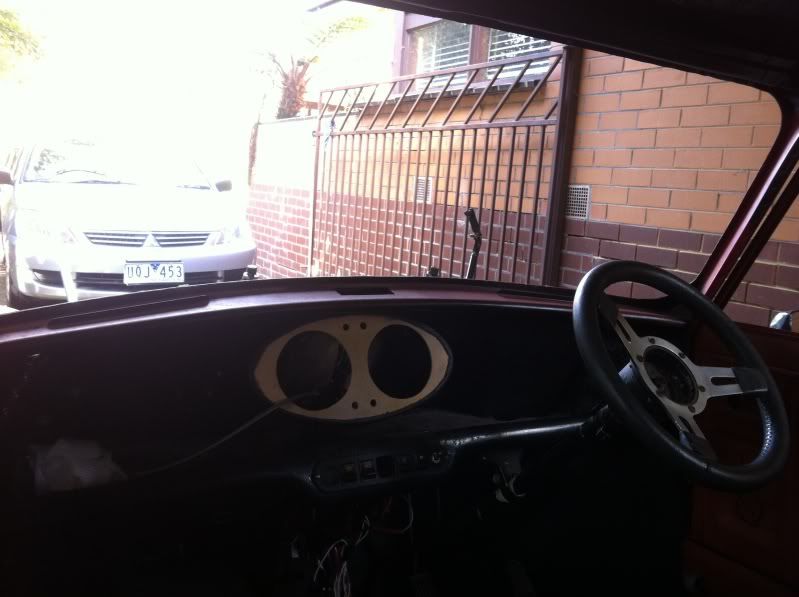
I modified the original cooper dash pod to hold the two Autometer gauges and they fit quite well but ill have to space the pod away from firewall as the go back to far and hit the firewall...
my next delamar is where to fit the other 4 gauges i have ??? they are all 2 5/8 size ...i was considering mounting custom pods to the cooper pod and mounting them on angles on each side ie two on each side...then getting the whole thing covered and trinmed up nice???
or go the easy way and mount them under the dash but this I think will just look cheap and nasty...
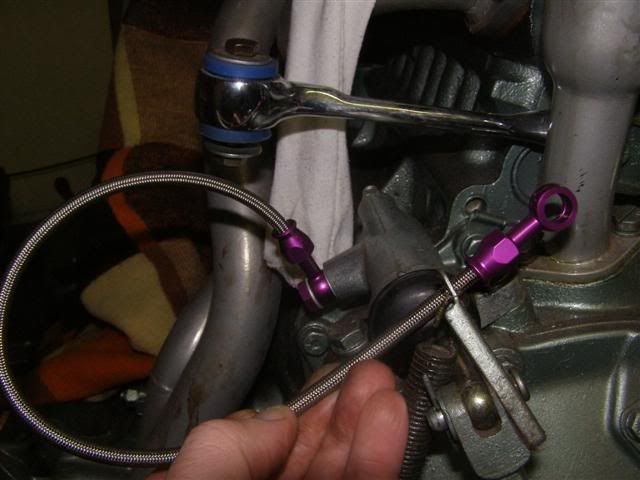
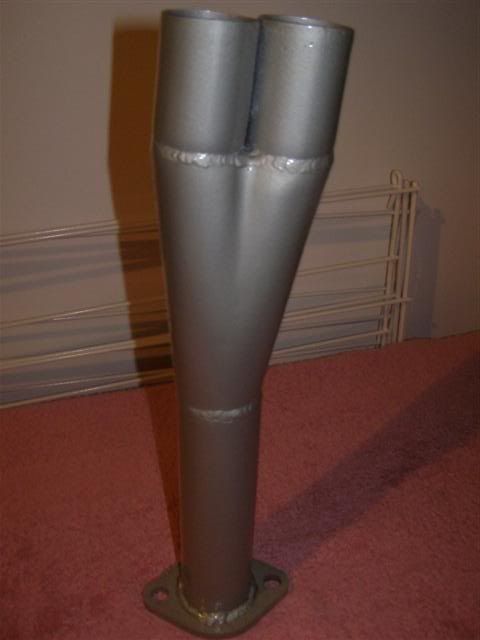
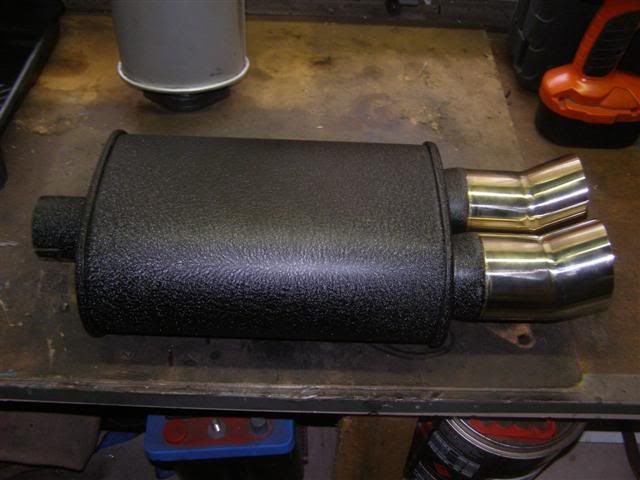
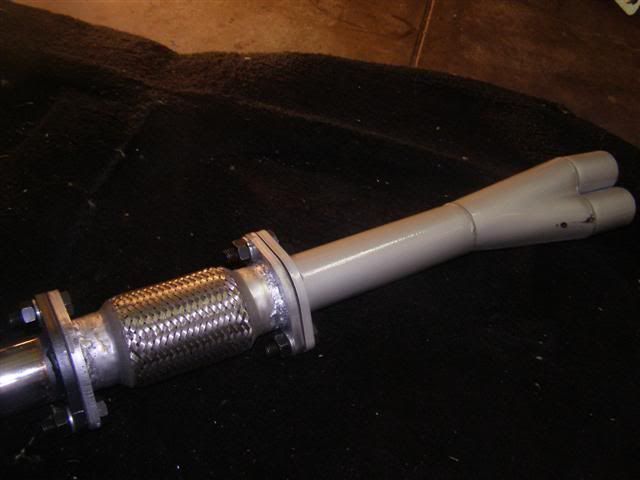
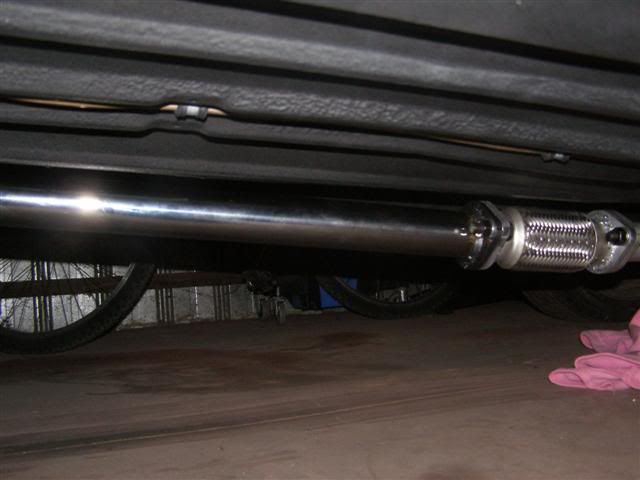
I also did more on the exhaust system and fitted the other muffler I had....
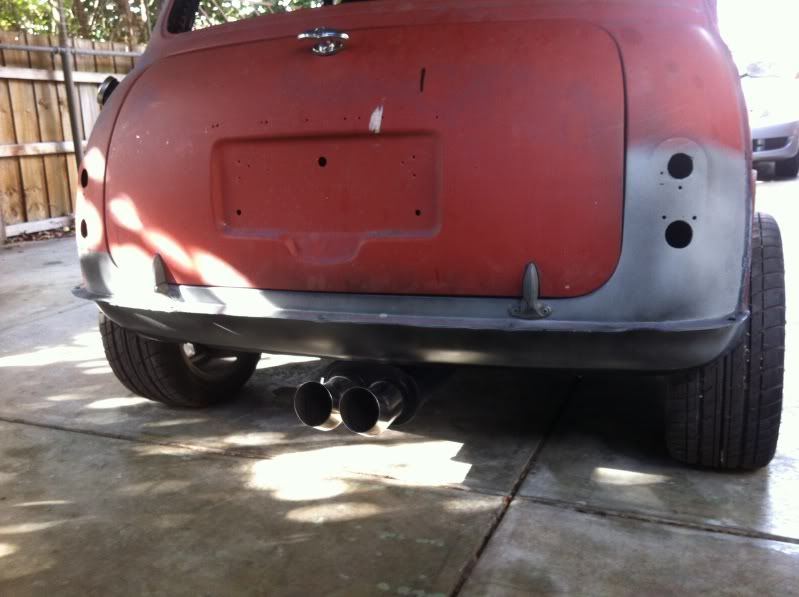
the car now sounds more like a modified mini...not as tinny and rarspy....but ill have to look at something to make her quite once she is gettign closer to being on the road as I dont think its under the 96.1db limit....
Still havent worked out the wiring system also ...still something a miss as once its all conected she wont start....think its to do with the tacho so ill have to look at this in more detail and possibly rewire it ....
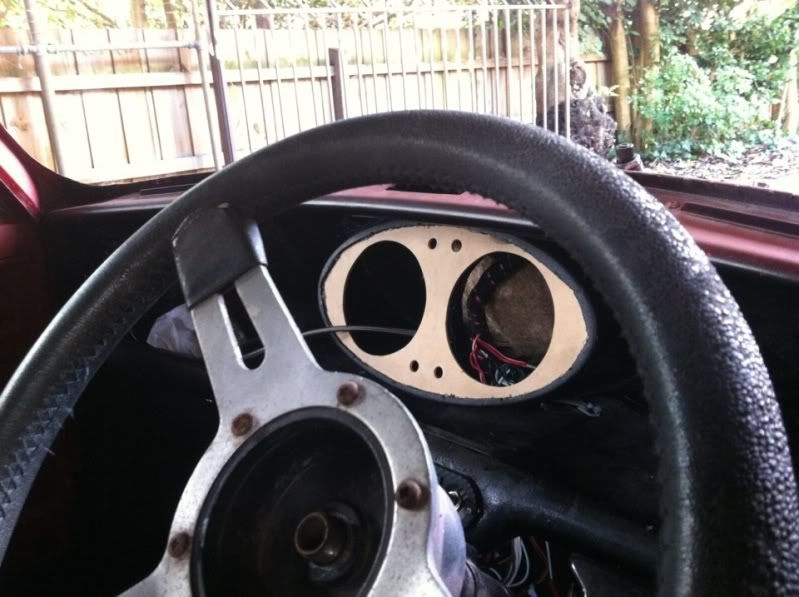
Will be sending her away soon to be looked at as there are some items that need to be finished off so she can be driven safely that I cant takel on my own. new push start installed and all works fine ...thank god...
But the hole it needs is smaller than the one i had drilled for the other type of push start buttons so ill need to source a new switch panel tomorow.
I booked car into link today too so end of next month it will be hopefully be able to be driven safely Minin should be returned today.
report back was that everything was ok and i aparently did an ok job on putting it together thank god...had a bad feeling it would fall apart ..lol
next on the agender is to get the panels ready for paint...should be fun...
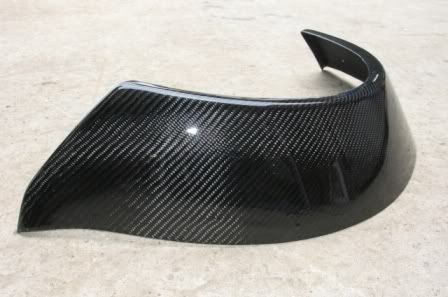
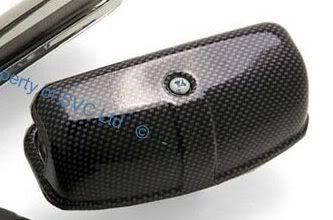
boot and bonnet will be sent away to be carbon fiber wraped then ill start on the rest of the car...
_________________
well the minis back and im happy as larry lol
took her for a quick run around the block ..was not to comphy seeing as its got no windscreen so it was a bit brezzy
slight problem with brakes so will add it in the forum for discusion hmmm still a slight problem with my brakes...
everything is new so not to sure what to look at..
brakes have been bleed correctly but when i took her out the peddel went to the floor again.
if youssit in the car with the peddel pressed you can feel the peddel slowly go down towards the floor like its loosing pressure somewhere.
no leaks that i can see and no loss of fluid iether..
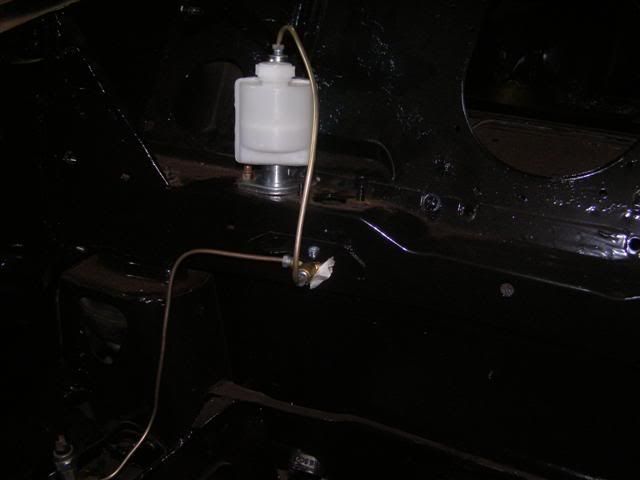
was suggested to look at the master cylinder as even though its new sometimes you can get a dud?
thinkiing i should just get a seal repair kit maybe?
or should i just replace the unit?
i got some werid looks by people when i took her out lol
One guy was hosing his lawn .....he looked ...went back to watering his lawn...then looked again....had an exspession on his face like ....what the h*** is that...
but one guy gave me the thumbs up when i flew passed Master cylinder removed for repair and returned back as it was all ok???
so now its re fit time and having to look over every join for leaks of any kind after i bleed her again.
well ive been busy working on the brakes....still not sorted ...but have bleed them again so will test next time i can get her out.
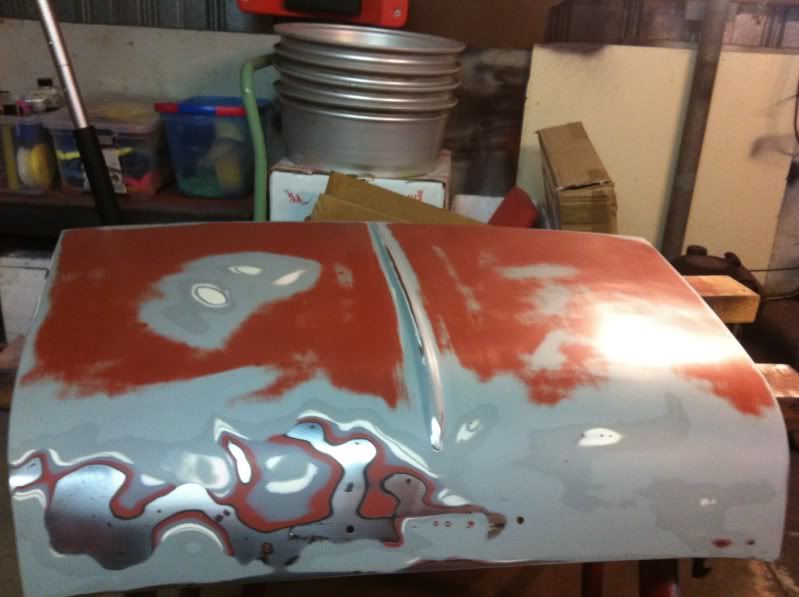
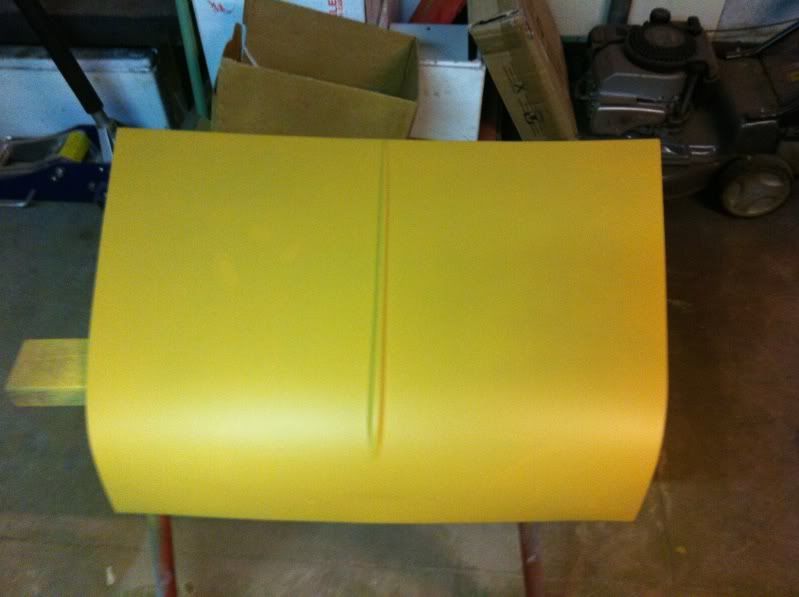
Have been working on the bonnet so it was sanded and primed.
I have since painted this bonnet and the color i chouse for the car is heritage cream with black roof.
it will now have cf bonnet,arches,and maybe boot lid .
also ive ordered my arches from ABS Motorsport in the uk.
$260 AUS Posted so not too bad.
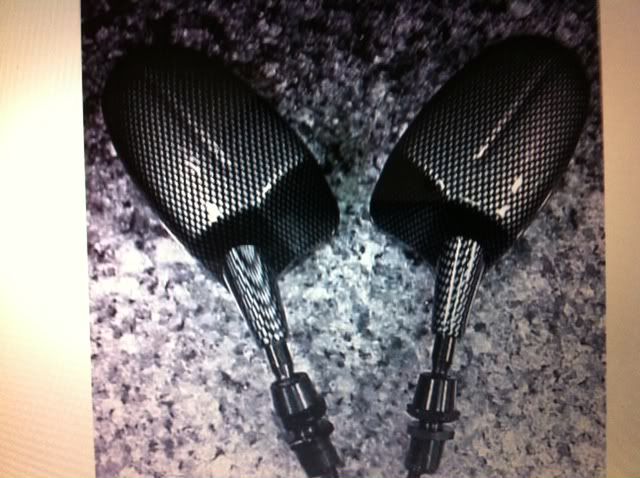
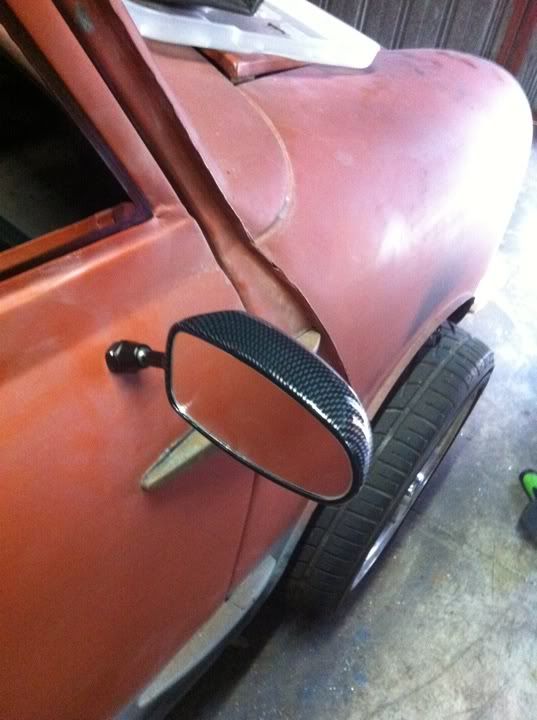
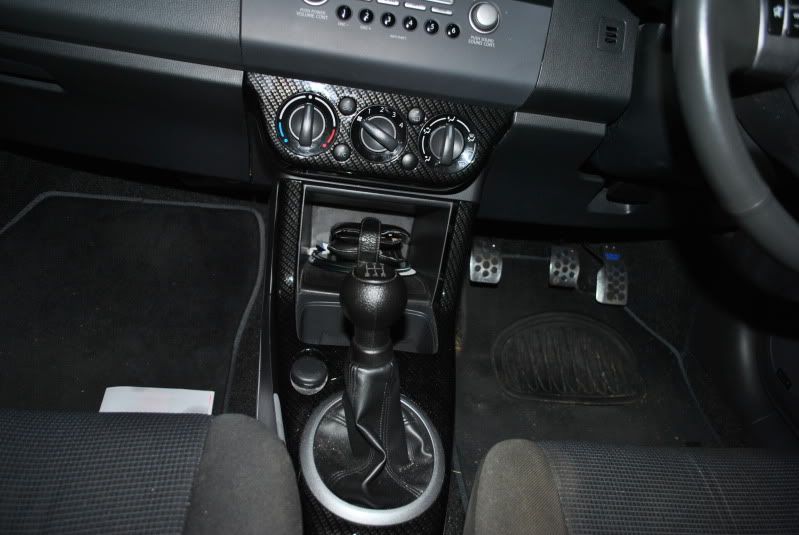
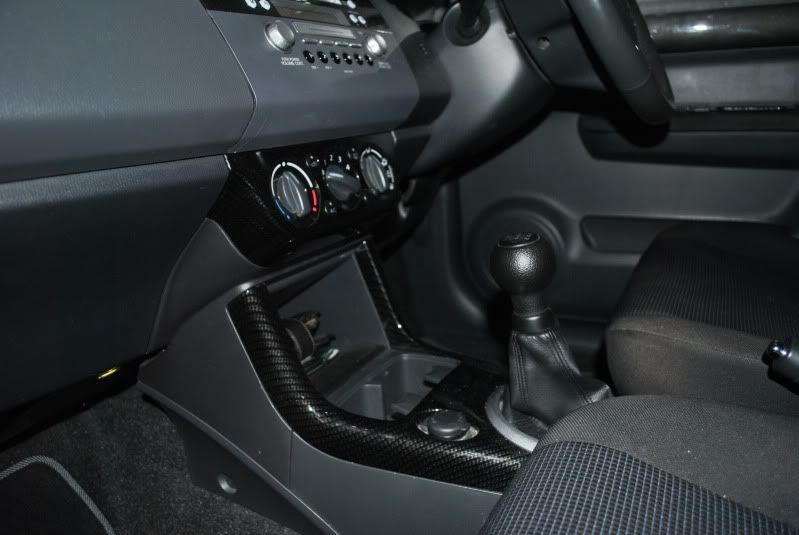
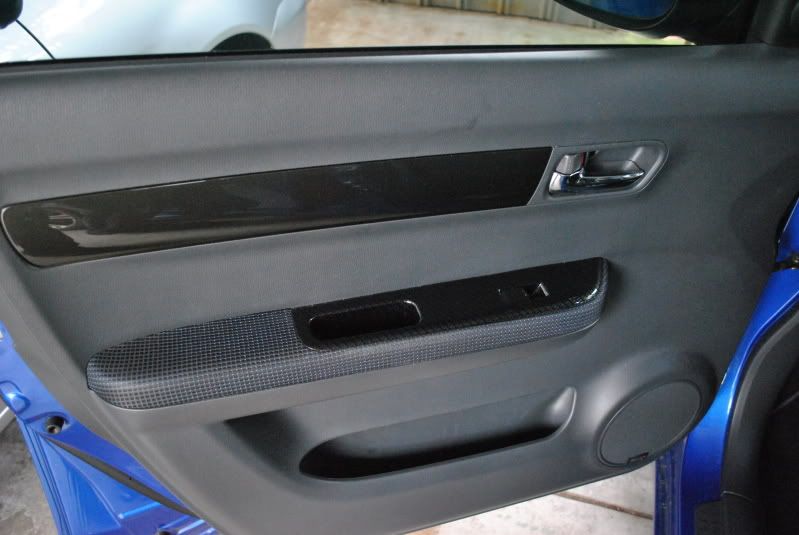
Ive also added what the cf wrap will look like as ive had many parts on my swift done by the same company.
its no cheap looking contact.


9.10.2012
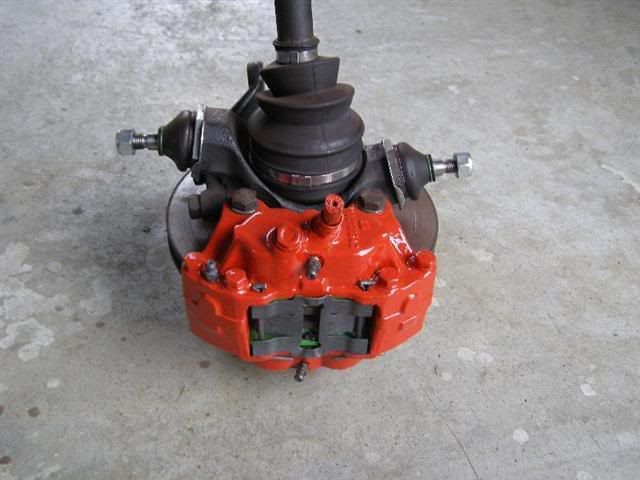
Well my dreaded brake system finaly got the better of me .
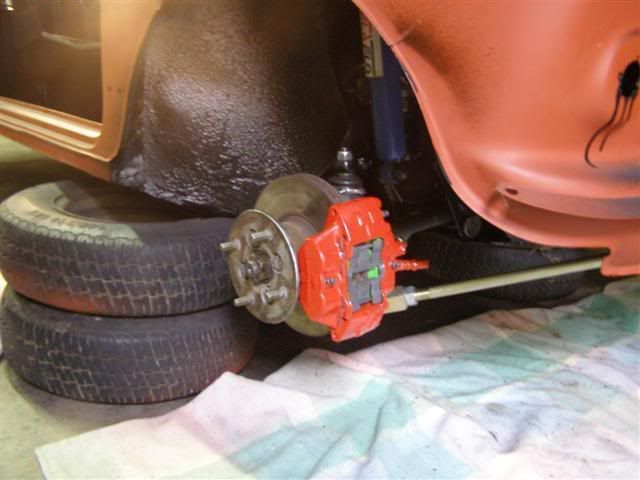
I removed on caliper from the disc and pumped peddal and only 3 pistons moved??
hmmmm well one was siezed .
so ive decided to reomove both calipers and do a rebuild as last time i didnt replace the seals etc.
ive purchased all new pistons and have ordered new seals to replace both calipers .
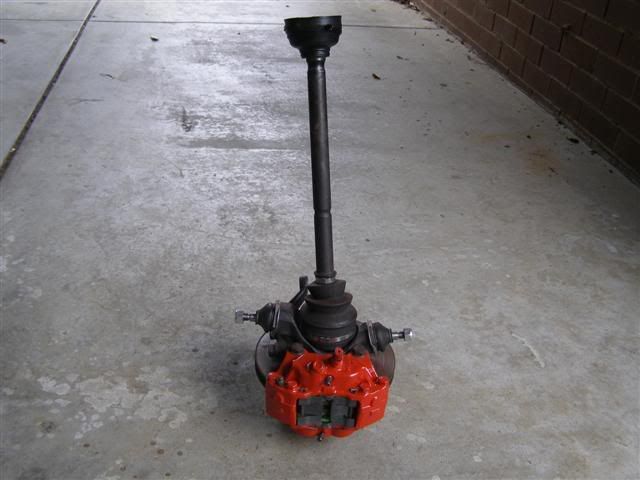
ill have to decide on the new color choice also....might do a grey this time....as ive allready done red..
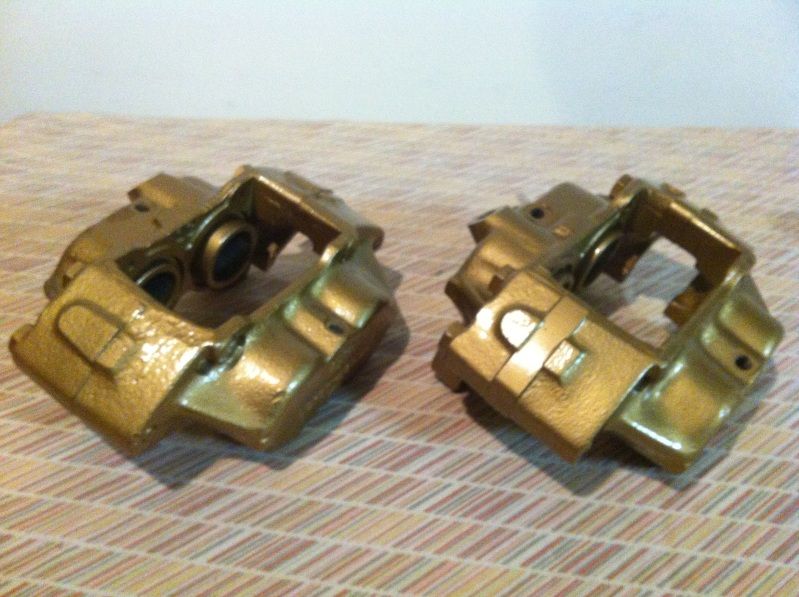
Well the calipers were fully striped ...cleaned...sanded etc....and carfully put back together.new seals will be fitted soon and the new pistons arrived the other day so ill wack these in too.
ive re painted the calipers also. there now in gold and oven bakling as we speak...
well the brake rebuild is allmost completed.
I striped both calipers and sourced new parts for the rebuild.
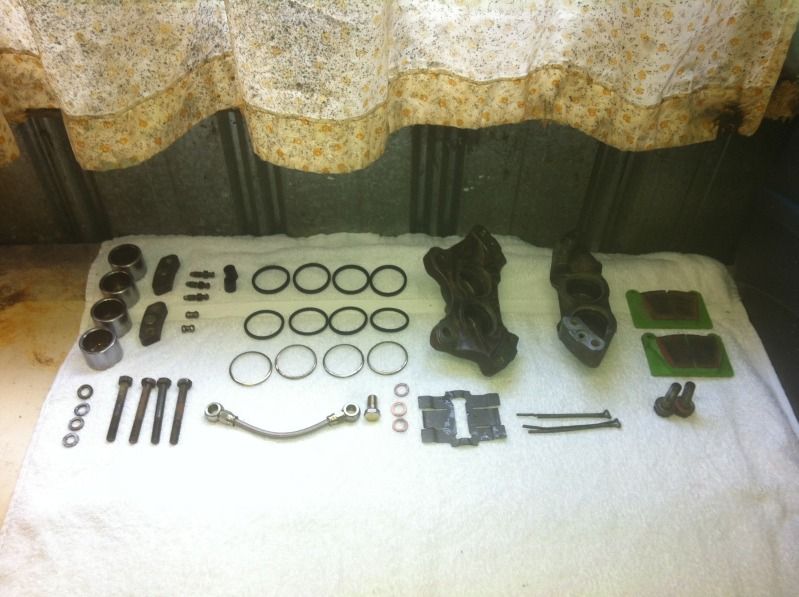
I decided on a different colour this time as i have had red calipers all the time.
chouse gold this time.
next time ill redo them in a grey i think.will look cleaner.
sourced new pistons from the uk.
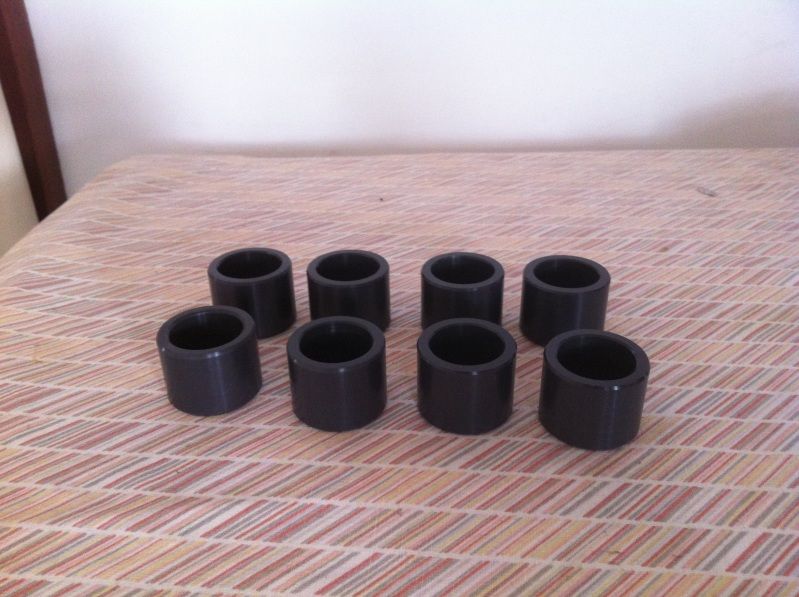
these are alloy items aparently there lighter so will make the calipers work easyier with less effort?
iether way they look ok so i gues the test will be once there all bolted on.
I used vht paint again and followed the instructions i got from there webn site.
used
vht high temp primer
high temp top coat
and high temp gloss
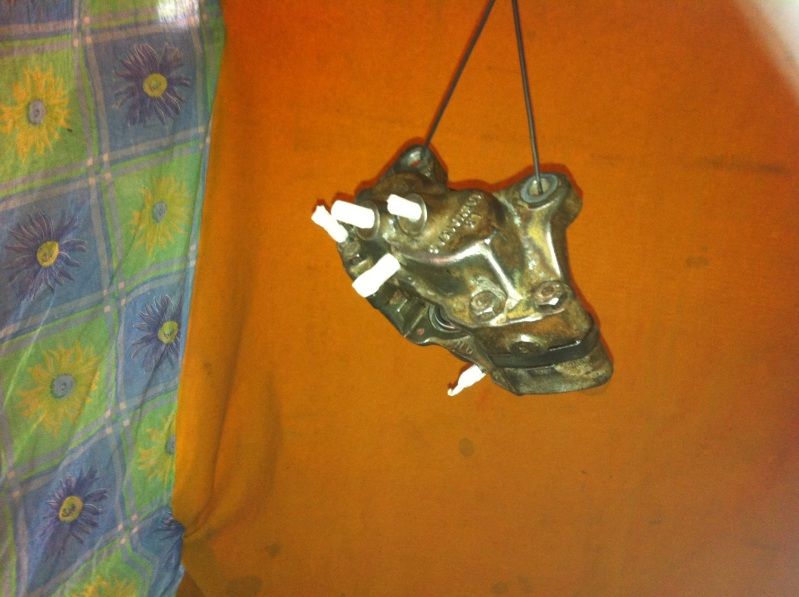

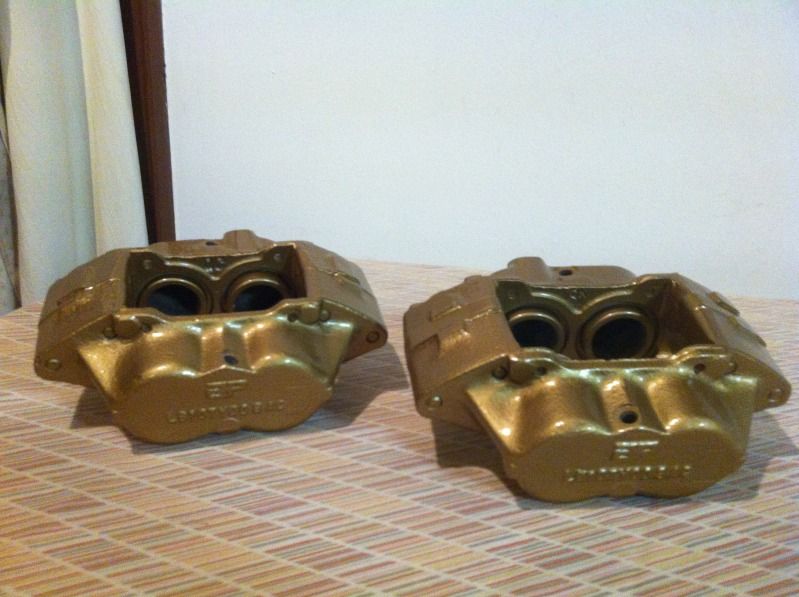
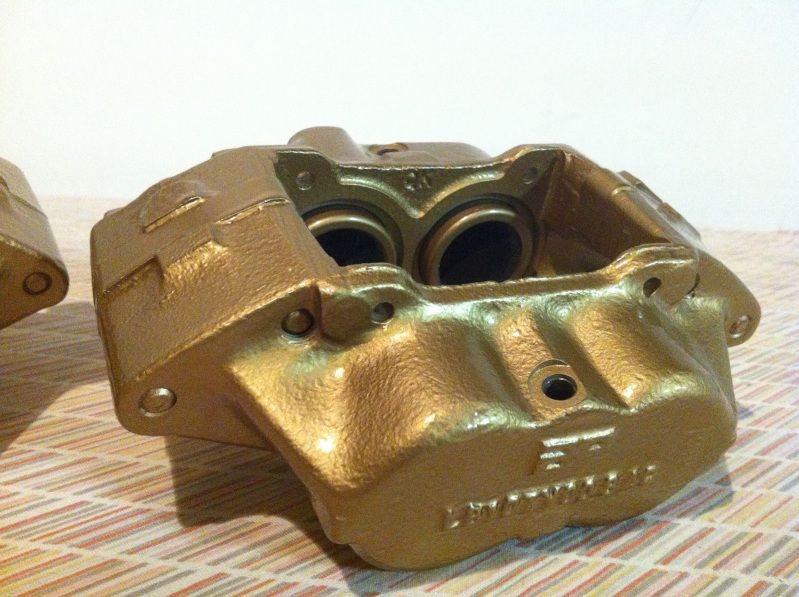
once all applied i left to touch dry for 4 hours then moved them inside and put in the oven set too 93c for 1 hour.
then left too cool.
they turned out pretty good and the coating looks and feels quite good so im happy.
Just waiting on my other parts to arrive, the new pins and anti rattle clips,and the rubber seal kit.
ohh yes dont panic about the pistons being painted ...they are the old ones.
i did pollish them up as i was going to reuse them but changed my mind,the bores will be pollished a little also befour i fit the new pistons too.